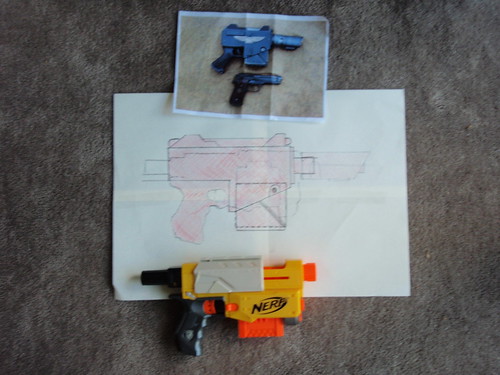
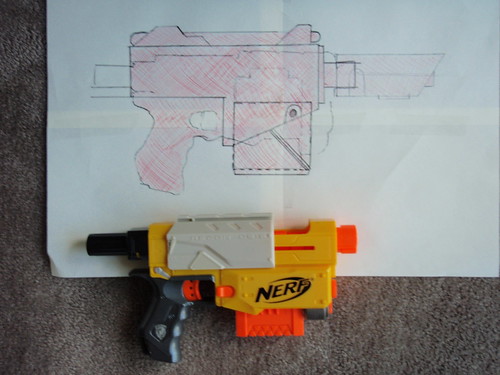
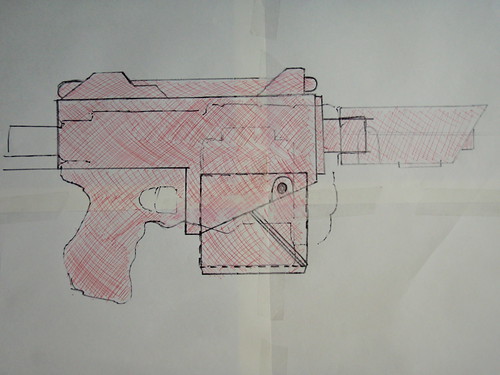
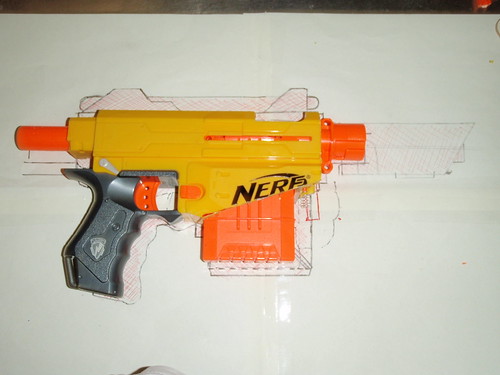
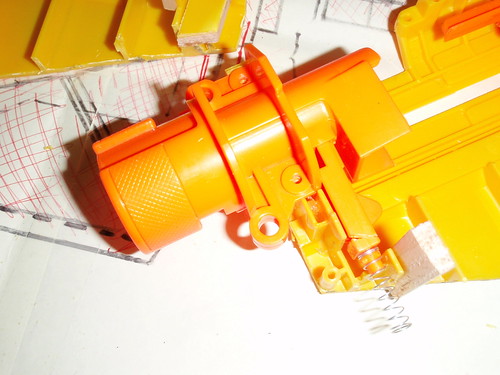
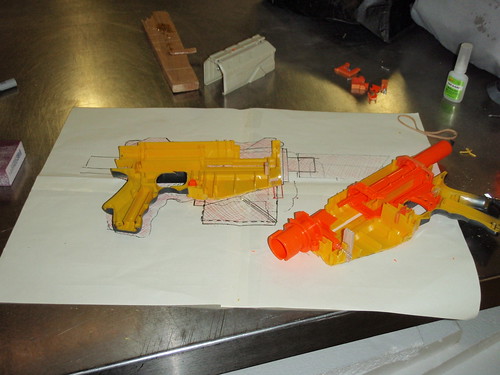
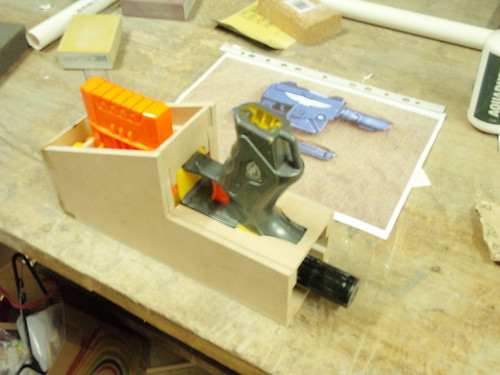
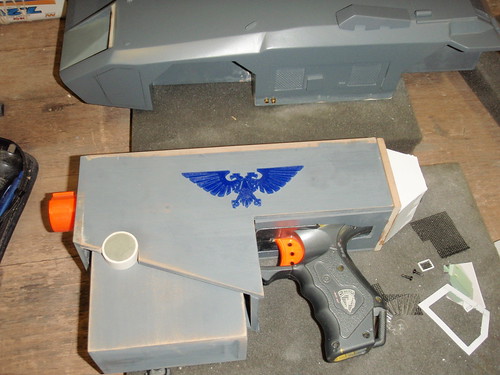
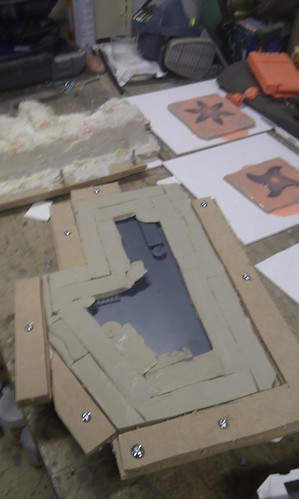
I started with a hand sketched plan; the outline of the nerf blaster and the outline of the las-pistol. This way I could see where I needed to take liberties with the overall shape and where I would need to cut/hack the nerf blaster. One piece in particular that required extra care was the Dart tooth. If this was taken out or broken (cut in half) the blaster wouldn’t fire afterwards.
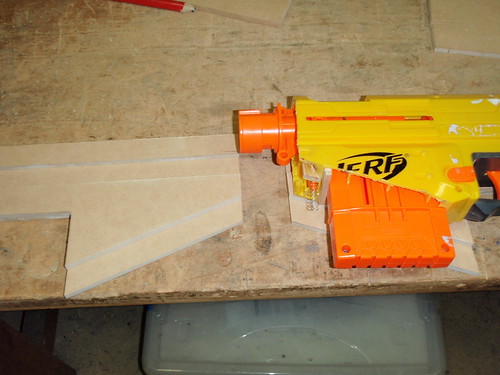
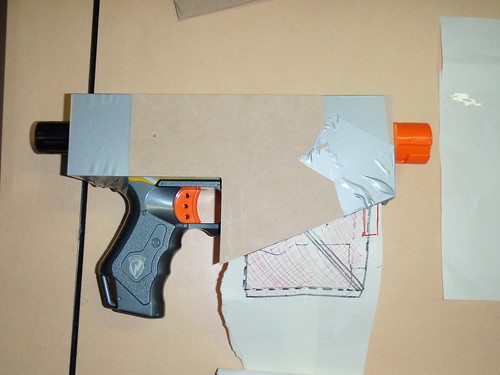
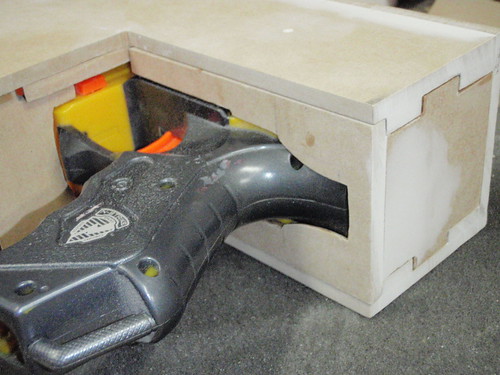
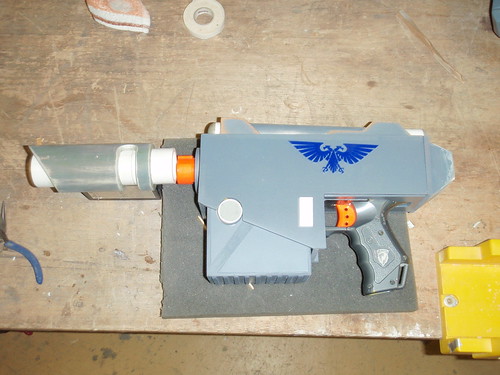
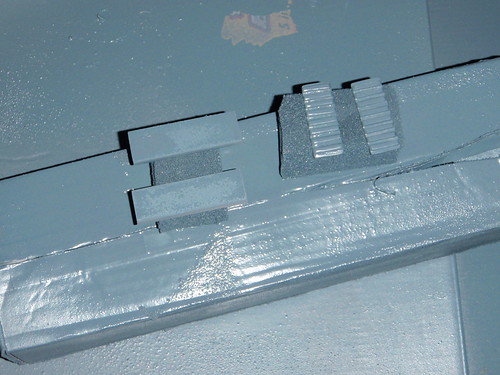
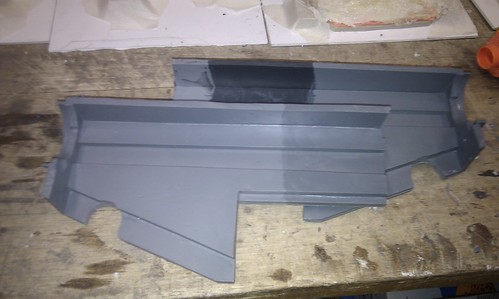
The next step was to start on the shell. Using the plans I cut out the sides, top and other sections, and eventually it took shape. It is double thickness in parts as I needed a cutout for the cocking rail that runs to the back.
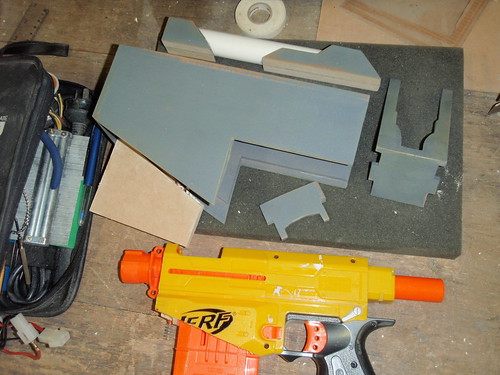
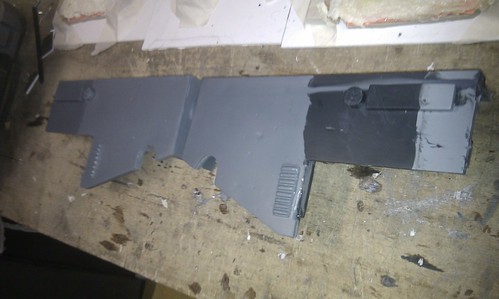
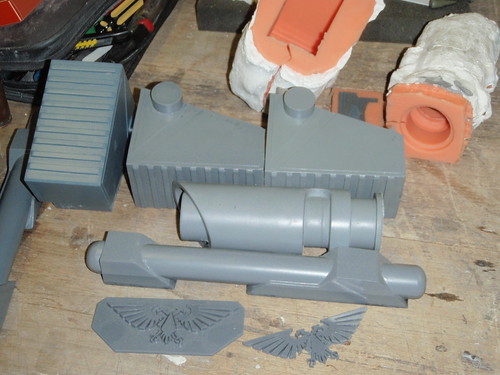
Once the main body was done I needed to work on the details. These generally take longer due to the higher levels accuracy needed.
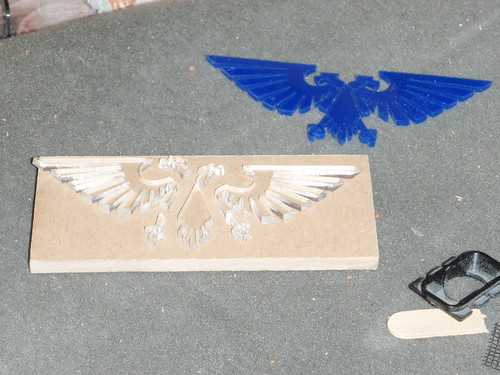
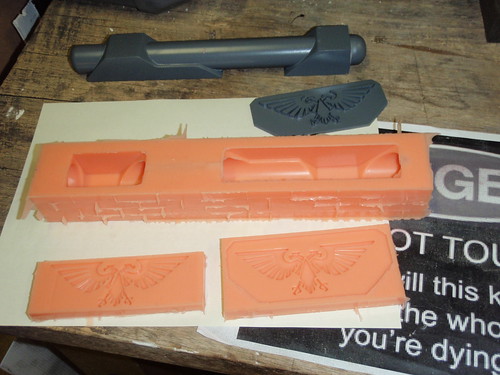
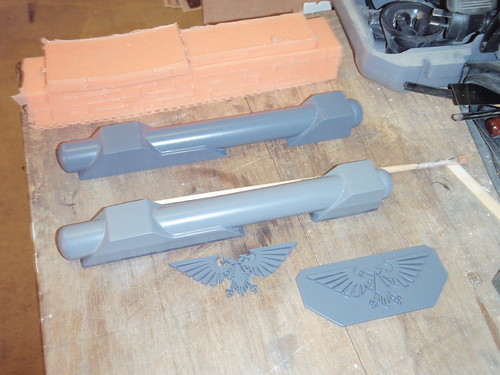
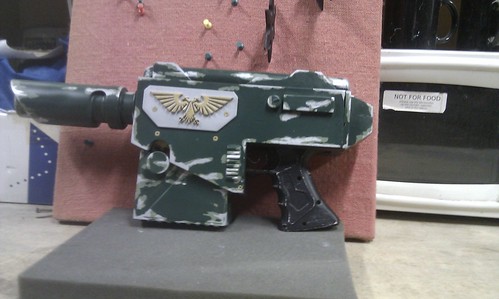
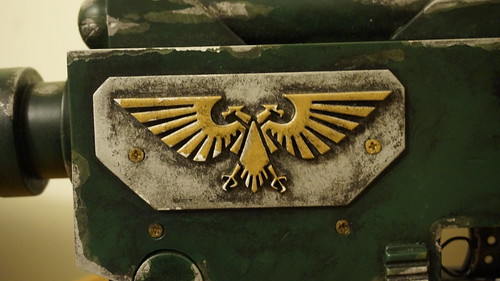
Case in point. The Imperial Eagle was laser cut as there is just way too much detail to do it by hand. Thanks for the help Mr Krix
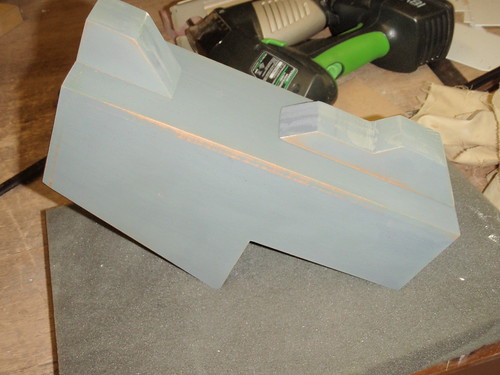
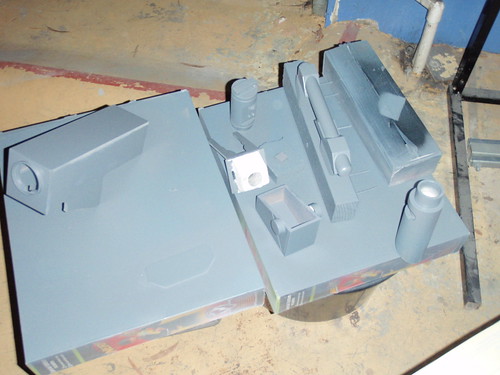
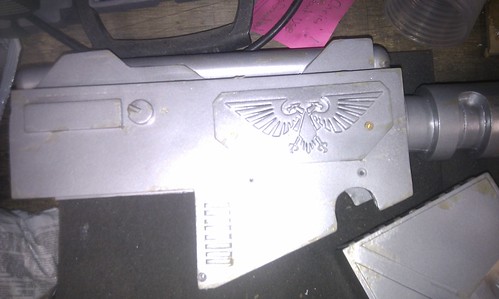
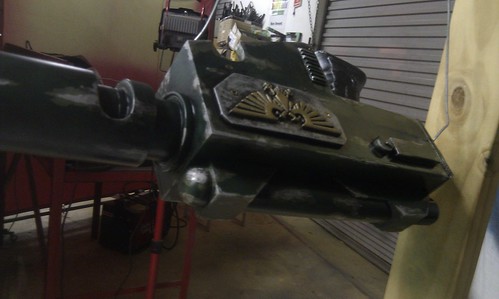
It was at this point I coated everything in primer to see the areas that need filler.
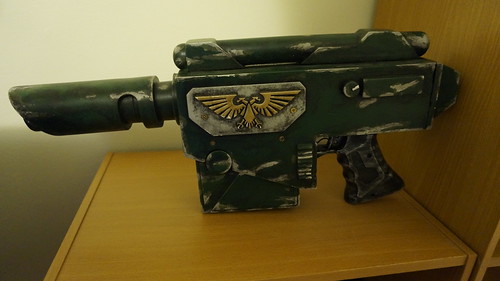
Closeup on the eagle. I love these so much.
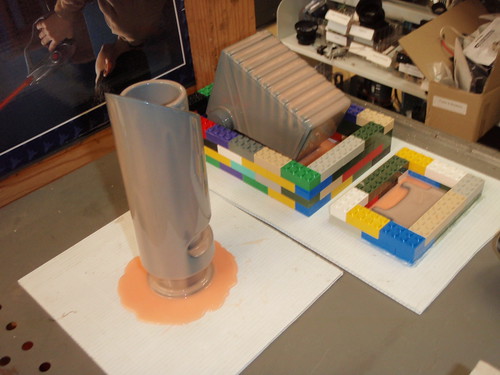
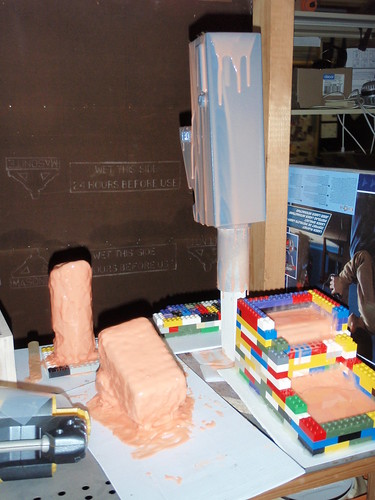
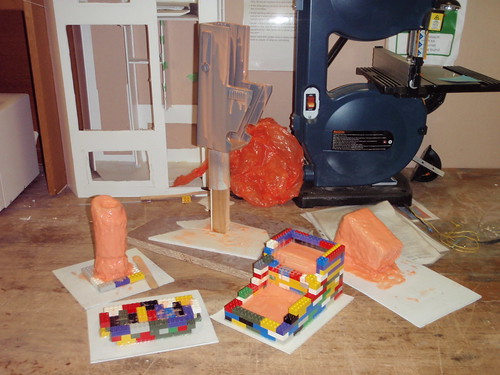
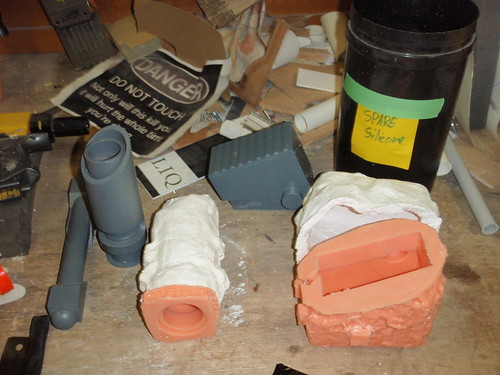
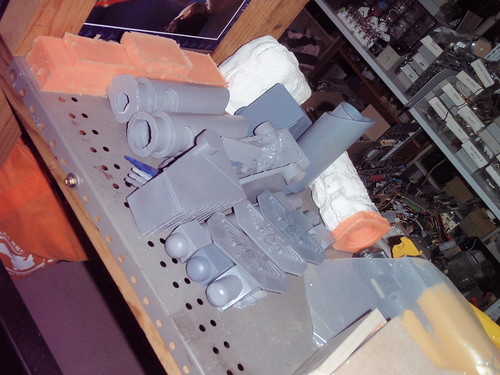
Once I had things ready for molding I used Lego for a decent molding box. Its not perfect but it’s completely customizable. Note the bits where silicone seeped into the brick joins.
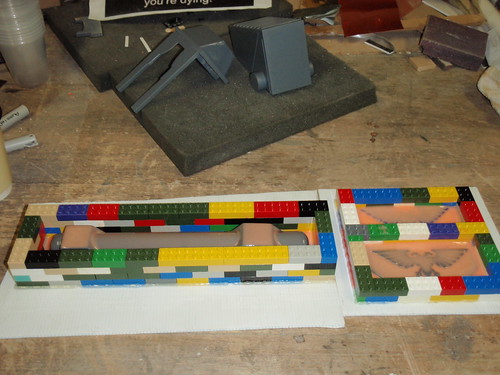
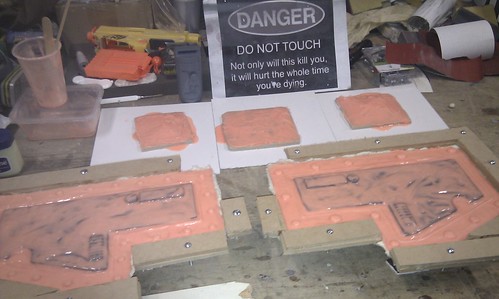
The clip, barrel and other bits were put under silicone and once again you can see how useful Lego can be. I have transitioned away from it however as there are more efficient ways of casting.
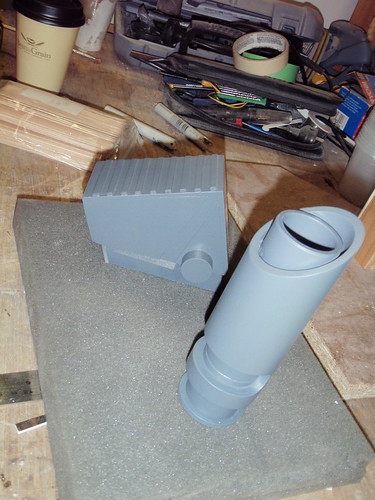
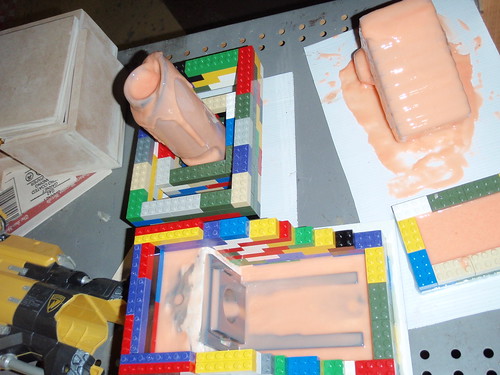
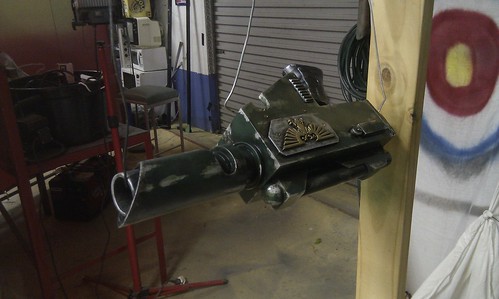
Once some of the smaller molds are complete I needed to test how the casts would come out. Apart from the sight being super heavy (ill use a foam block next time) everything came out well.
On the following greebles you can see how the primer doesn't like filling the gaps in the MDF. This is where a filler primer comes in, and does the job of 3+ coats of primer with sanding in between.
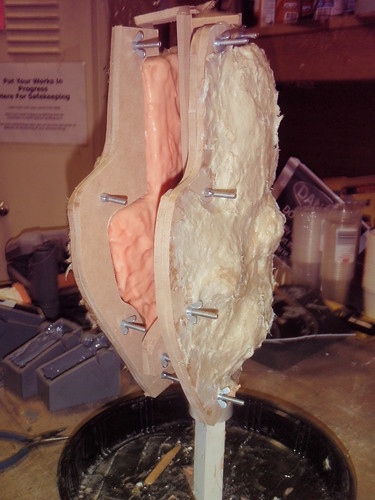
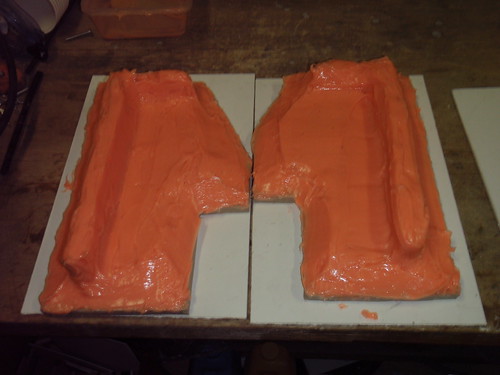
For the main body i was attempting a 4 part jacket mold and started with the print coat of thinned silicone. This allows a nice bubble free coating.

Then it was onto the thickened coats of silicone.
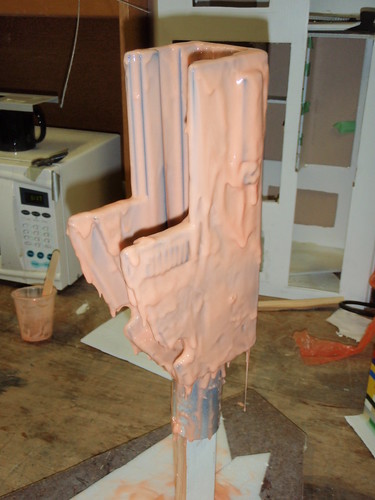
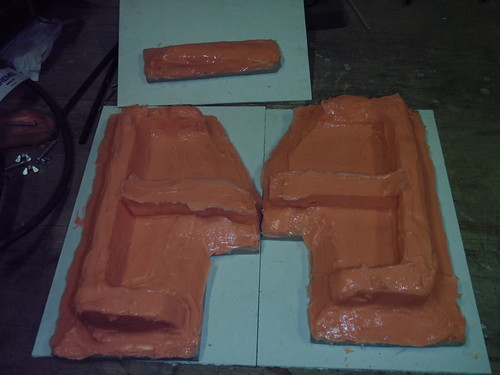
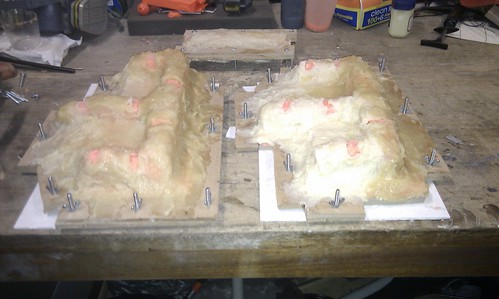
Finally after abour 3 or 4 thickened coats (including the round registration keys) i started on the mother mold. Each segment had two halves bolted together which would allow it to be pulled apart once the resin was poured.
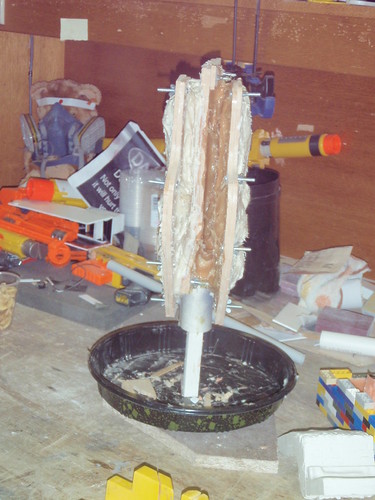
So anyway, to cut a long story short, the inner silicone jacket collapsed away from the mother mold which left me with a mess... Although from this angle it does look impressive.
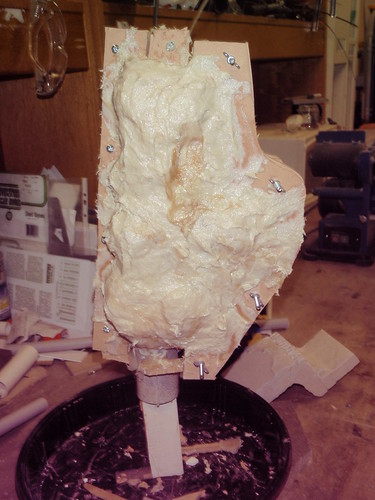
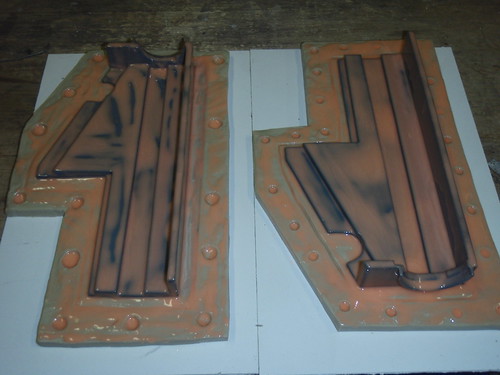
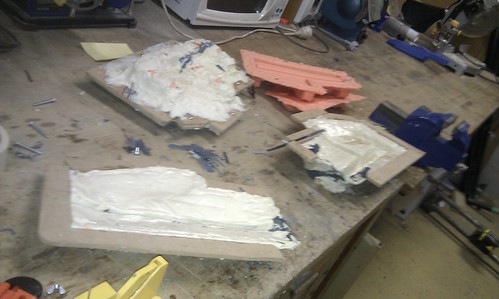
And so after this failure i decided to make 2 large box molds (after cutting the body down the middle) and reuse the old silicone i had left over to save unused stuff. The problem being is the print coat was too thin and the cured silicone bits i used made themselves known in the resin cast afterwards... At this point i went home and had a few drinks and fumed. It was a decently expensive mistake to make but looking back now its one i needed to make.
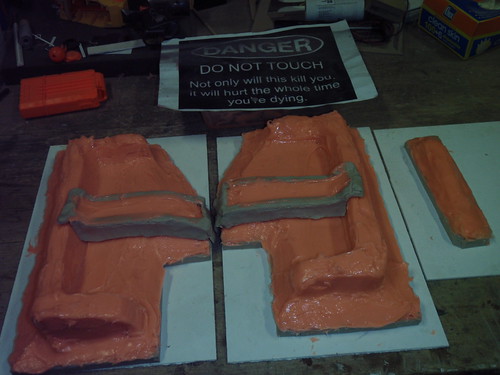
After a few days of stomping around in a black mood I decided to do it right and without rushing. I made large ridges of silicone so i could pit it to the mother mold and prevent it from pulling away and collapsing. Doing it right meant i didn't need to use these after all.
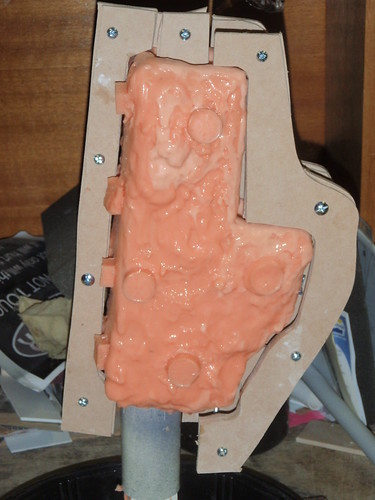
*sigh* So after many expensive mistakes I'm ready for the mother mold. I’m using plasti-paste by the way. Note the areas left uncovered so i can push a pin through the silicone.
One side down, onto the next! After peeling the clay back i could see the first side of the mold was quite good. This is a stage where some of you will make a mistake: not adding mold release agent! If its not used you will seal the mold like a tomb! I used spray release stuff but you can use pretty much anything designed for that purpose. Then its 'Print coat', 'Thickened coat', 'Thickened coat' and mother mold.
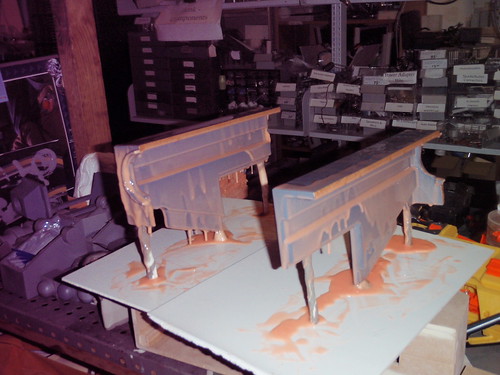
Casts! There are a few imperfections unfortunately but over all I'm quite happy.
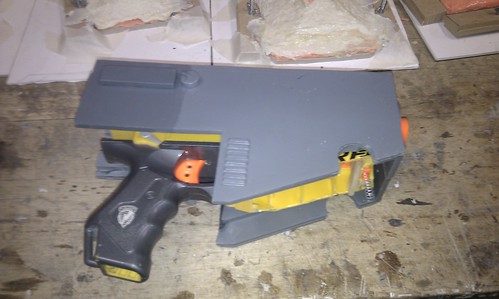
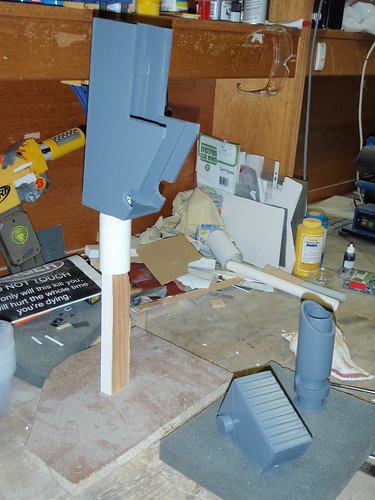
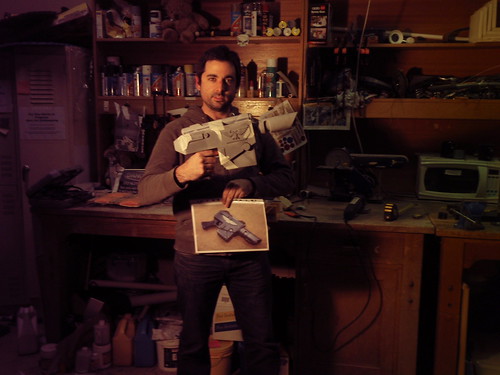
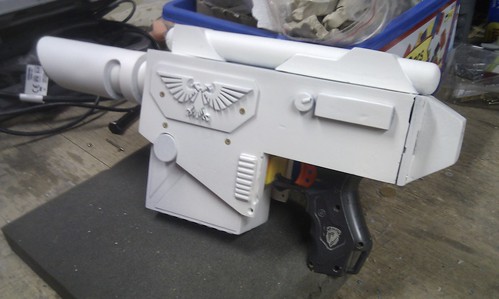
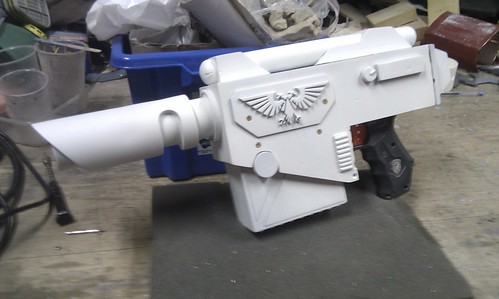
Hey look! It's me :) At this stage i had taped it all together to feel the heft, screwed it together.
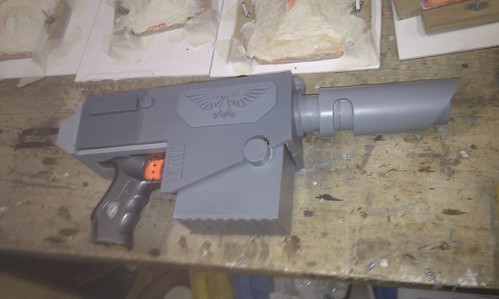
I pulled it back apart, sanded then primed it in a good shellac based primer. You can see a few areas where there was a bubble in the mold which caused an indent, or where the poured resin didn't reach. I use talc dusted into the mold as this helps the resin reach the little crevices.
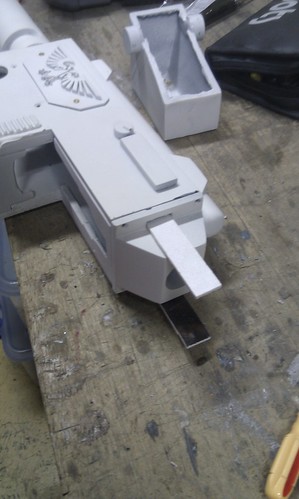
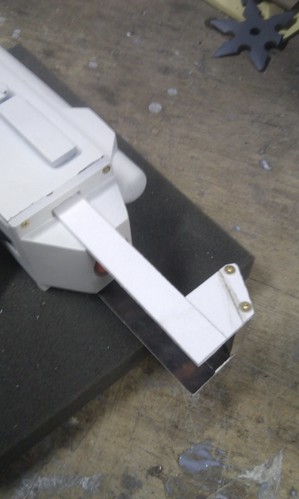
Finally what Nerf blaster is complete without it being able to fire darts. During the planning stage i made sure to leave channels along the sides to allow a cocking bar to be added and used at the back. I haven't added this to my personal Las-pistol however i made certain it was viable.

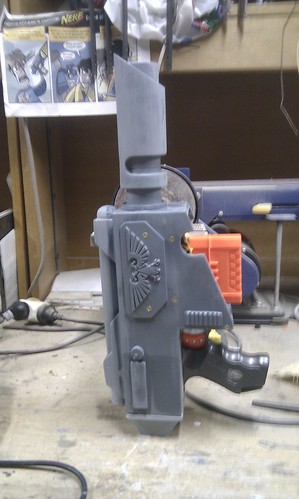
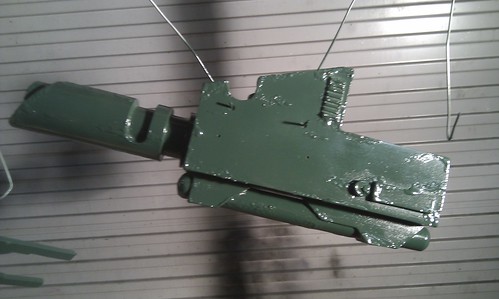
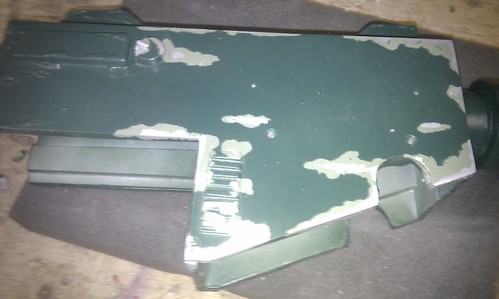
On to Paint. I decided on an Olive drab/greenish colour scheme with a base coat of silver. Once the silver and matte clear coat was dry I added liquid latex to the bits where I wanted the paint to pull away: where i wanted it to look like scratches had gone down the base metal.
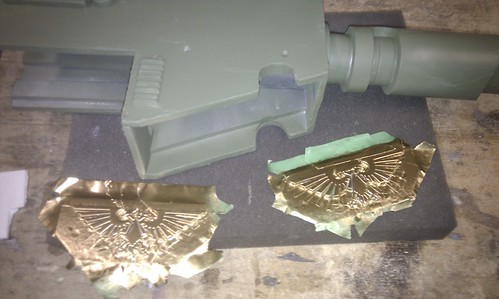
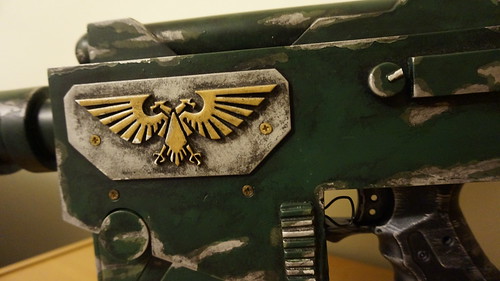
I painted an olive ‘undercoat’ and used a super shiny gold on the eagles. When dry it was clear coated again.
I added more liquid latex over the same areas and unmasked the eagles.
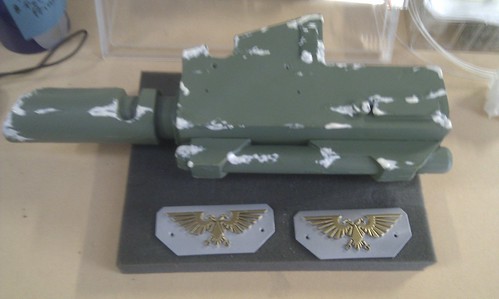
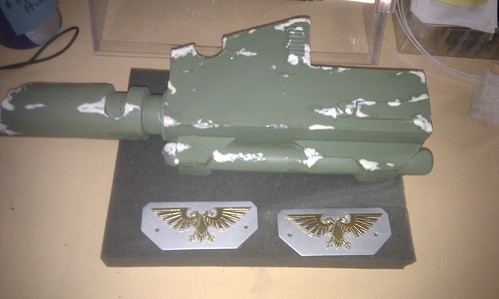
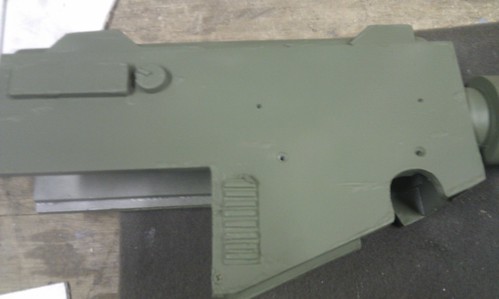
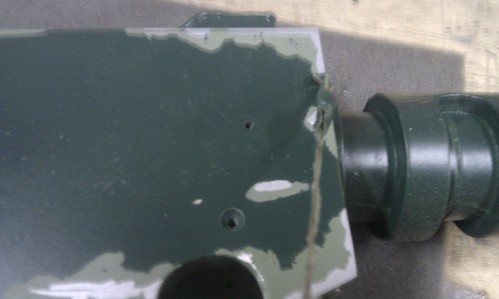
Finally I used a Forrest green over the top of everything and clear coated again. Its at this point the paint finish looks horrible, almost like you have made a mistake...

The big reveal: I picked the bubbles of latex away and peeled the layers of paint off in the process. The finished result was amazing! Phew!
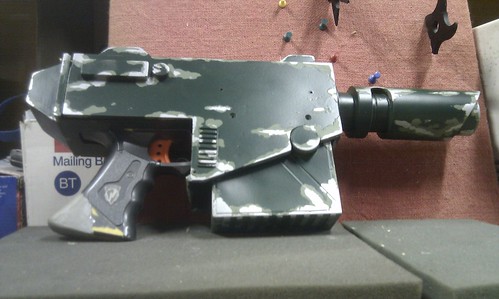
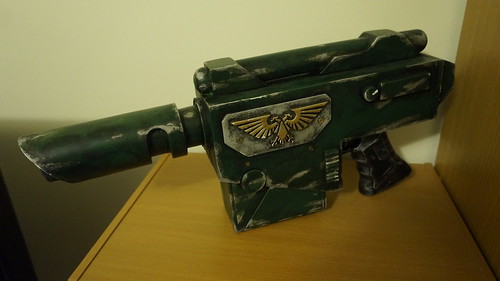
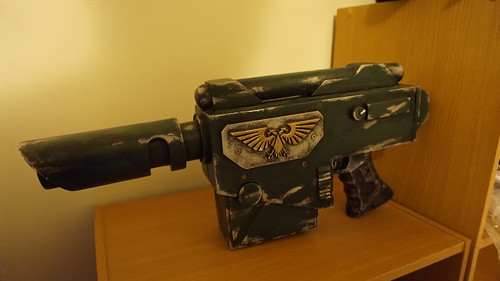
Weathering, the best bit. This was achieved with black/brown/grey acrylic paints and clear coated.
After an epic build, voi la! The final shots. (Those with a keen Nerf eye will see I've added a metal loop to the clip release.)
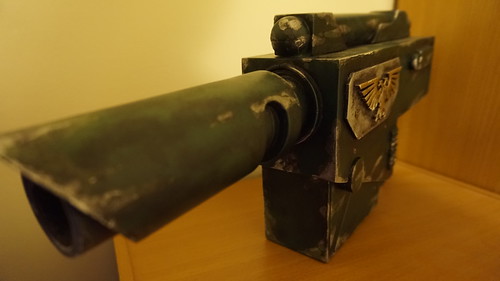
Thanks for reading :)
Absolutely lovely matey and your build photos are wonderful. My favorite though is you proudly holding your masterpiece. I can see why it has been a work in progress, all those steps to get to the finished product.
ReplyDeleteGreat job!
This comment has been removed by the author.
ReplyDeletedo you plan to make money from this ? i would like to buy a COLOSUS armor some day answer directly on my google account if you can, ( sorry for the deleted post , i could not modify it)
ReplyDeletegood designing of pistol. it was made beautifully. amazing art.
ReplyDeleteGreat Job. Looks really cool
ReplyDelete