
I decided to use a program/process called Pepakura to create the helmet and started with a 'pep' file someone had created before (I'll have to credit the person once i can find the file again) which was already scaled to the right size. Some pep files need to be scaled but I won’t go into detail as there are much better tutorials around than what i could create.
Buy yourself a pack of 50 210 GSM weight card. The best way to get into pepakura is to start small and easy to get use to how it all works, then go nuts on your project. At the end of the day without mistakes you can’t learn. One mistake I made was not being accurate enough. Any messy bits or things you stuff up in the initial build will take twice as long to sand and fill later. Also when starting on pep items its best to start with the bits that need to be symmetrical, as you will see below.
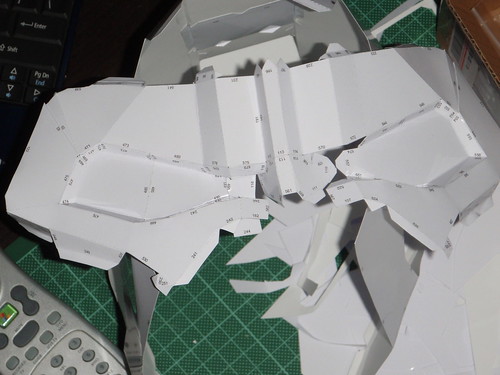
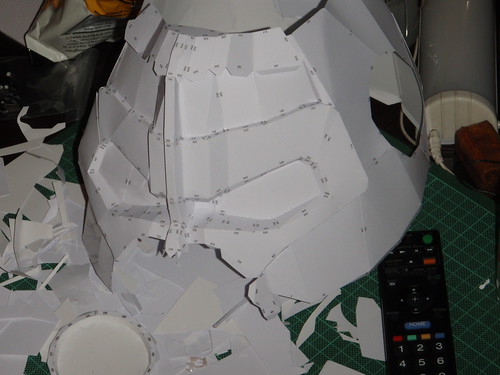
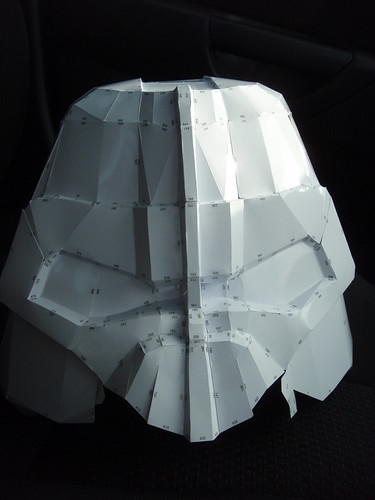
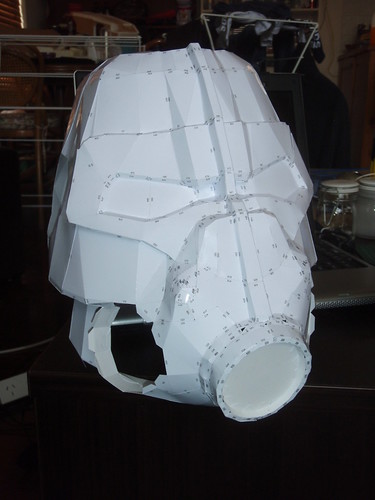
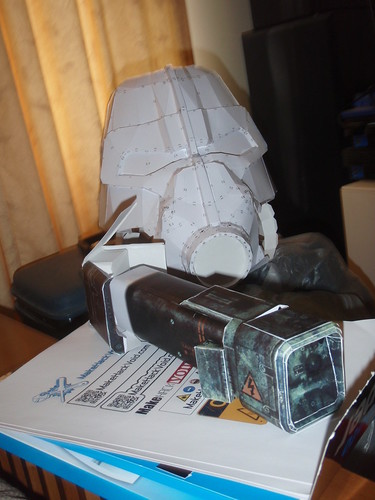
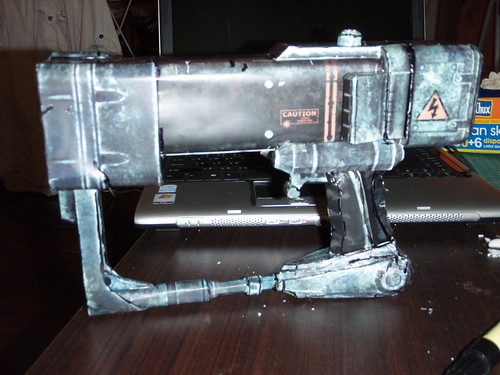
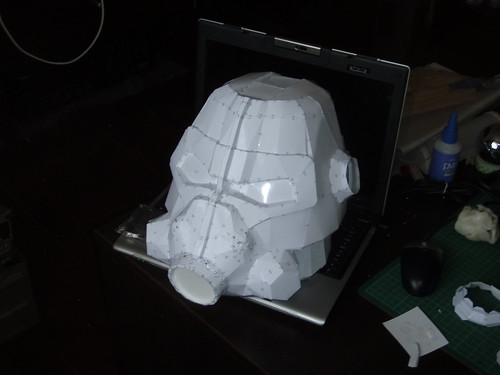
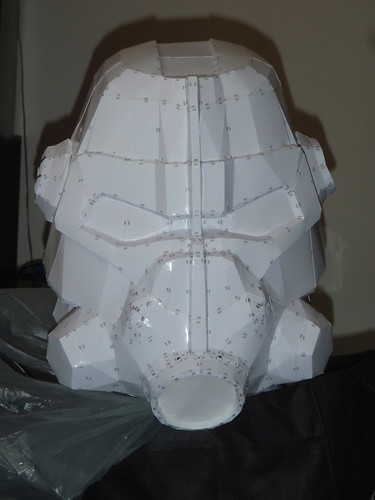
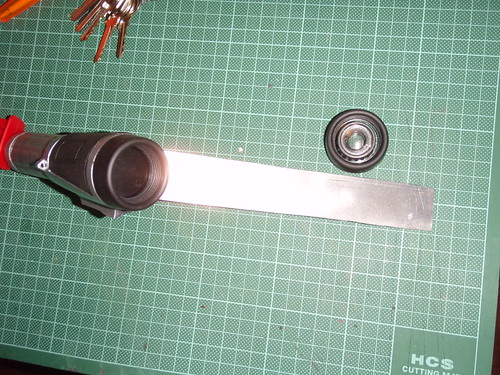
Once you have the majority of the item glued together (BTW i use wood glue, it cures quick, doesn’t glue your fingers together like super glue and doesn’t give you 3rd degree burns like hot glue.) it’s time to think about the details (greebles). I used plastic watering system fittings, flexible tubing, old plastic torches and binoculars and finally bits and pieces i found around the workshop. Once you have an idea where/how they will be located it’s time to start on the fibreglass/resining.
Step one: Read up on the safety and hazards when using fibreglass resin. Not only does the resin cause brain damage, the sanded glass fibres cause lung damage.
Step two: Buy a ABEK2 P3 multigas filter, mask and goggles. Buy the best. Polyester resin is so bad for you its not funny. In short make certain it filters organic vapors and particulate matter as you are going to use it while using the resin, and while sanding. (If you are sanding, wear a hat or something, gloves and long sleeve shirts to keep the dust off your skin.
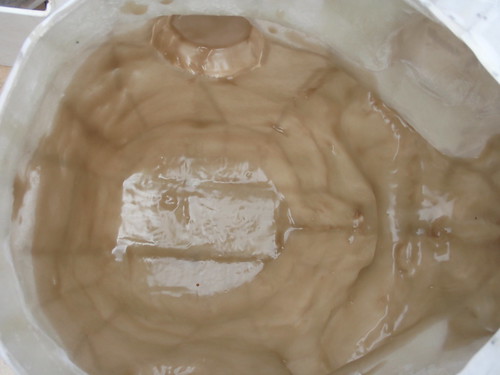
Assuming now you have a mask, mix a small amount of resin and paint the outside of the item and let it harden. Generally its best not to do it all at once as you can get warpage. Make certain you use some acetone to clean the brush before you let it harden. Once the outside is done, do the inside and let it harden.
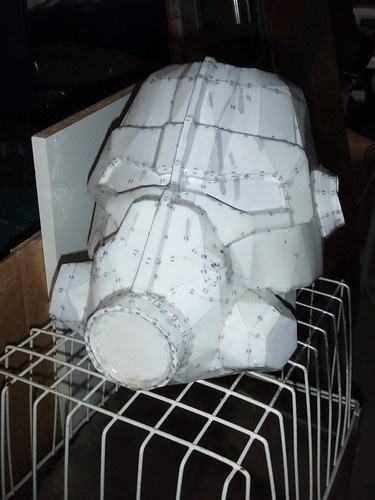
Then cut some squares of fibreglass 'chop', paint a bit of resin inside the helmet and place the chop onto it. Make certain you dab your brush over it so the resin wets the chop completely through. Once wet, keep working through to cover the entire inside of the item a little bit at a time. I would suggest 2 layers if it’s a think chop, or 3 if its thin, but make certain you don’t over use the resin as it will be super heavy. Another option is to use half resin and half bondo/body filler. This is called Rondo or mud. In my opinion it ends up being way too heavy.
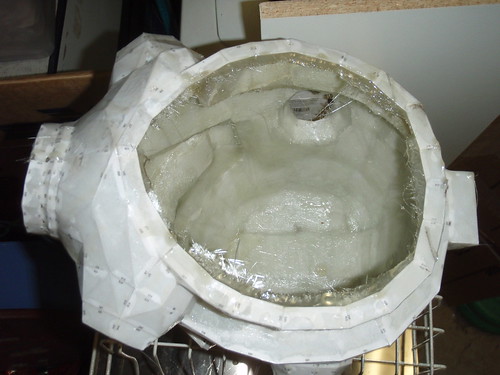
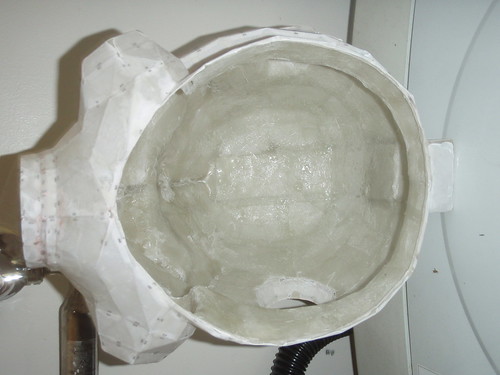
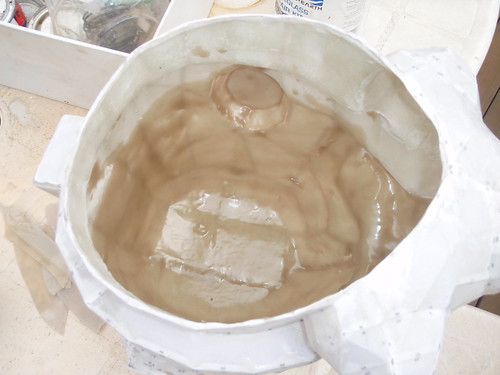
When it’s nice and cured, it’s time to start filling and sanding the outer surface. Generally with pepakura you will end up with hard edges that need to be sanded smooth. The step here is to use small amounts of body filler and sand back when hard. Bit by bit you will end up with the shape you need. I found it useful to give the item a quick undercoat of primer every few steps so you can find the holes and areas that still need work.
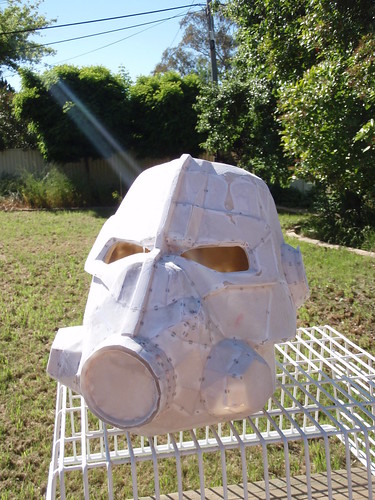
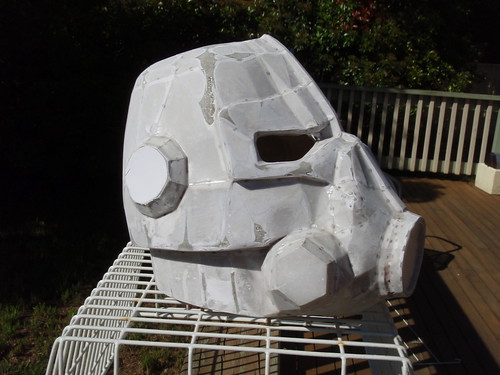
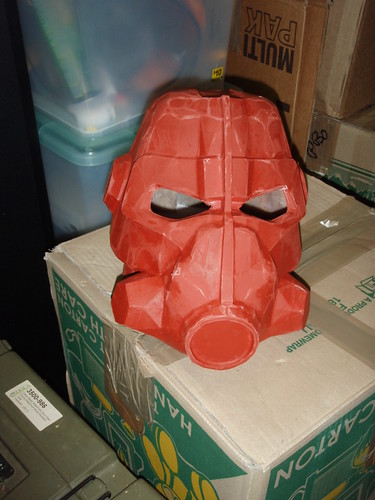
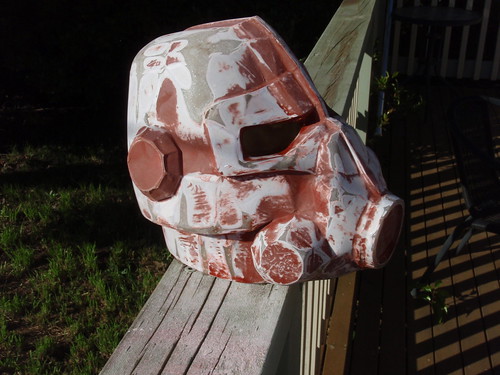
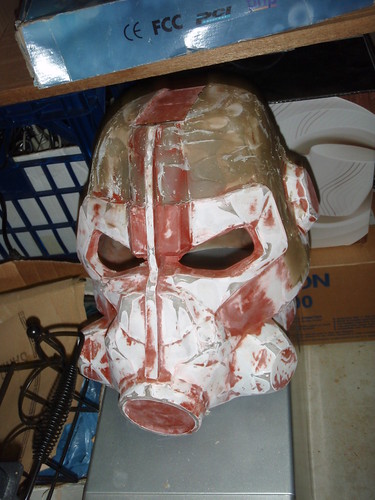
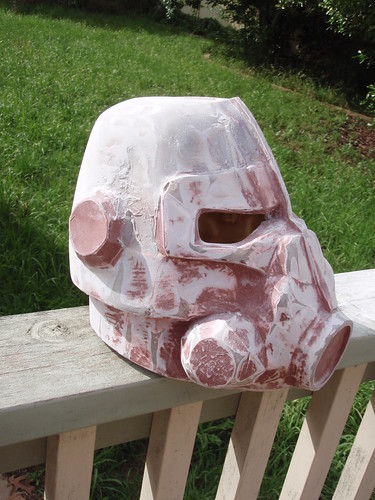
This sounds easy right? :D I ended up with days and days of sanding work... *sigh* Saaaaand, sandity sand!
Now is the time to add the greebles. Drill the mounting holes, attach the servos, add the fittings, tubes, screws, bolts etc.
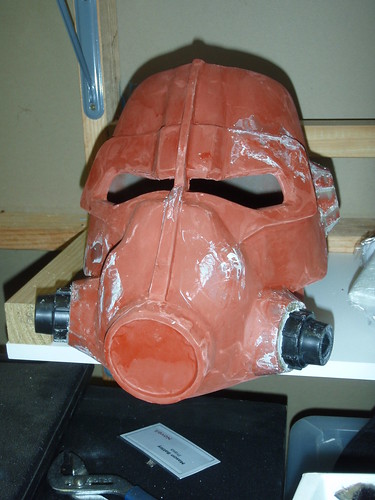
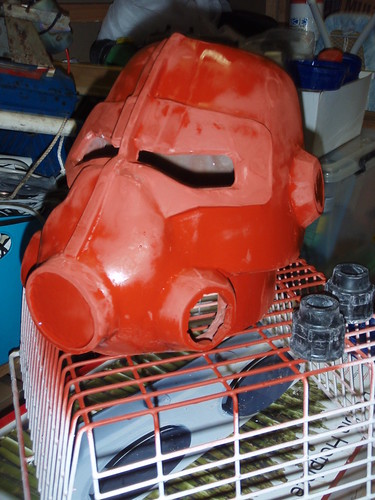
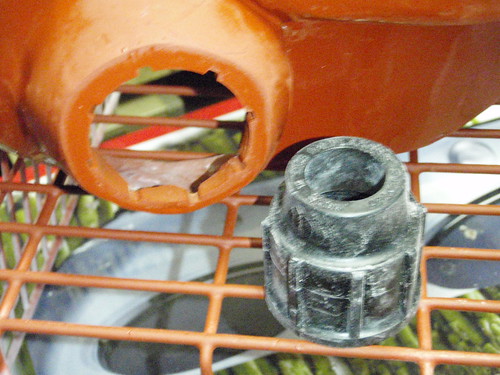
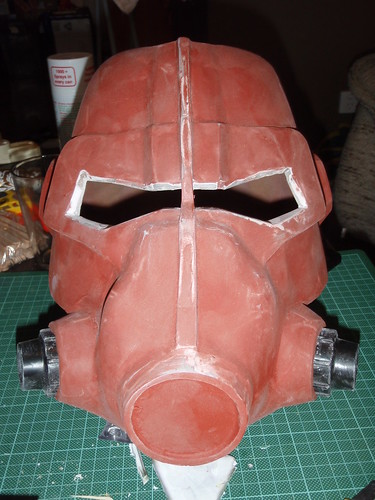
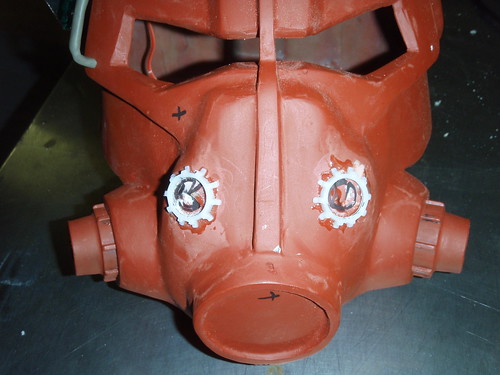
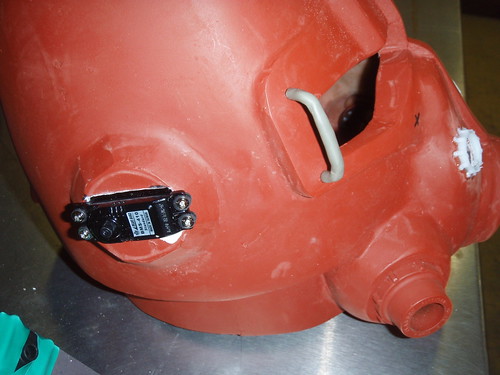
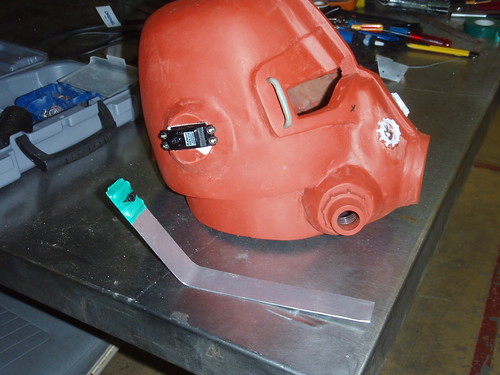
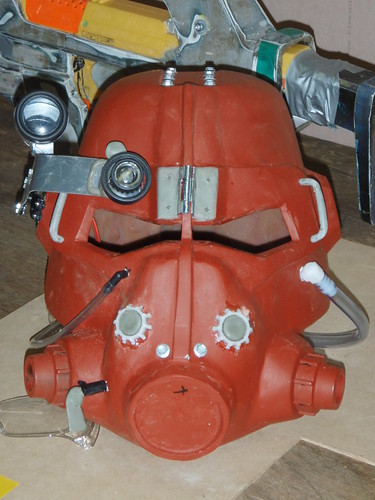
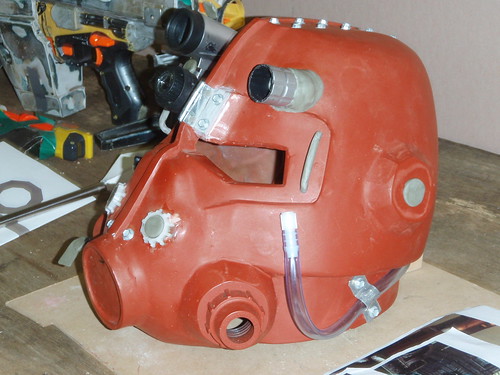
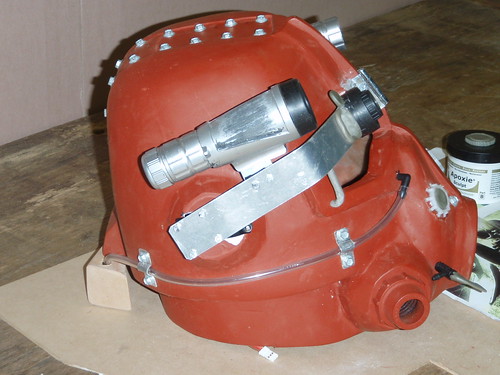
Now the point that scares people everywhere! The paint!
If you take it slow and don’t over spray areas you will find the perfect finish at the end. Once you have a smooth sanded finish, it’s time to primer it. First mist it lightly, then when dry do 2 nice and even coats, letting it dry in between. With 200+ grit sand paper, give it a light sand everywhere, this will help the paint stay smooth etc. Once done, i used two coats of a bright chrome paint, the final result was to bright I couldn’t look at it! Note, I sprayed black into the tubes.
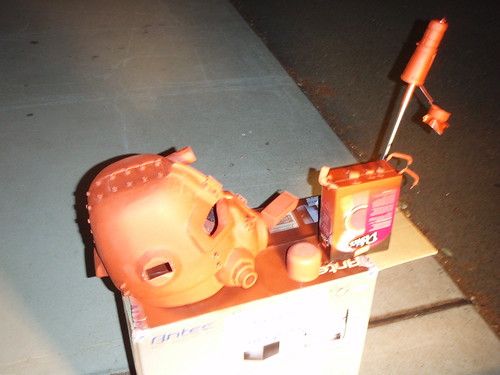
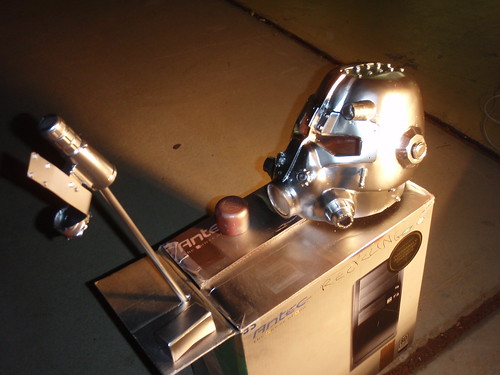
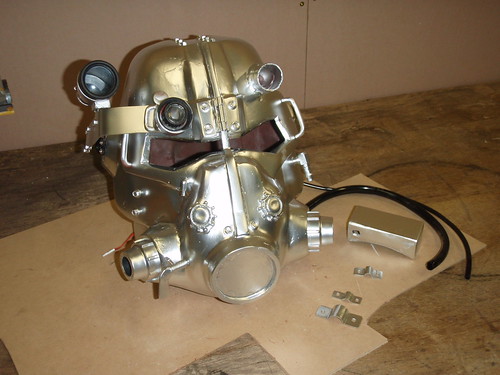
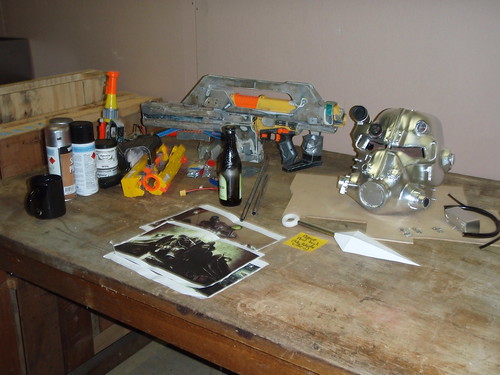
My next step here was to matte clear coat it which cuts down on the shine and prevents the silver being rubbed off. The final step and the most fun is to weather it like it’s been sitting outside in the elements for years. Take some black acrylic paint, dab the brush in and dry most of it off on a board/paper towel so it’s mostly dry and dab generously around the area where dirt and grime would accumulate. After a few seconds gently rub off with a very lightly damp paper towel. Repeat everywhere and take a step back to look it over. Keep adding until you have a consistent level of weathering. Clear coat again to make certain the paint stays where you put it.

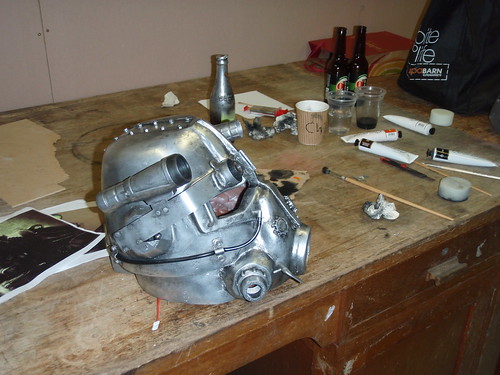

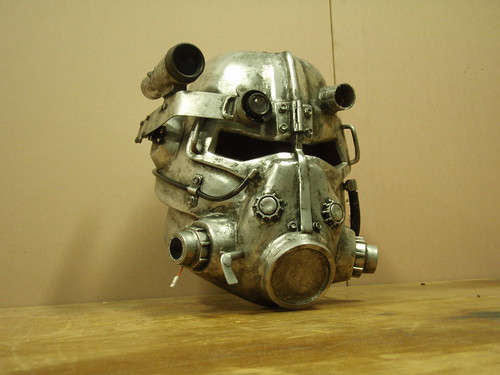
Next is to use brown, orange and bright orange acrylic to add the rust areas. Start by making a brown patch, then dab the orange over it. Finally dab the bright orange where the rust has been more exposed. Test it first on something you have laying around if you aren’t sure.
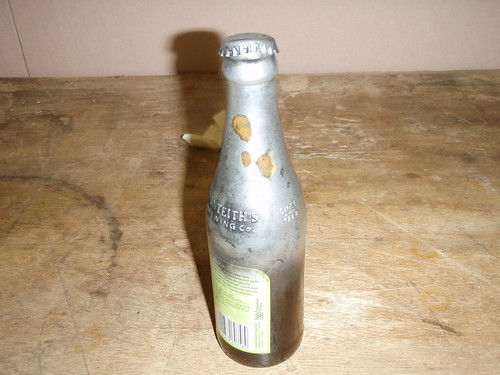
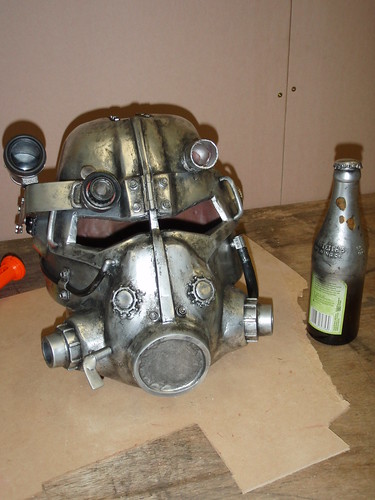
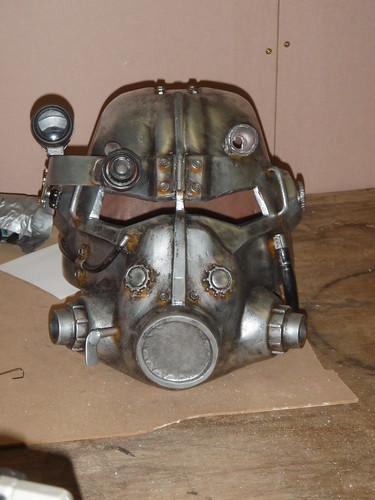
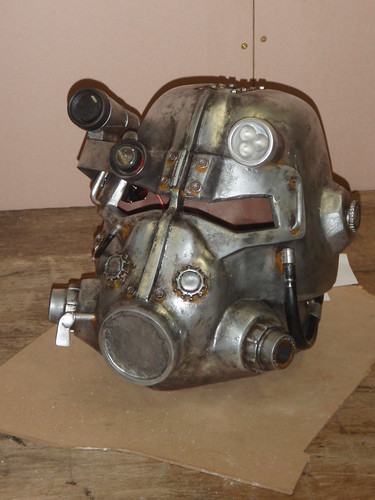
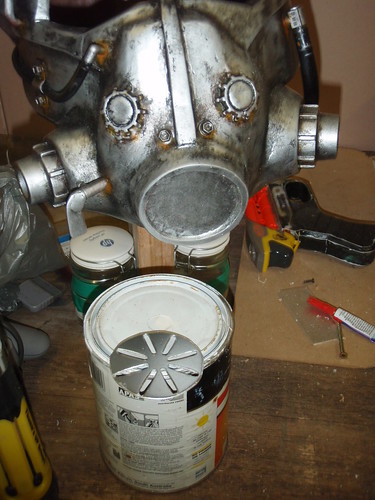
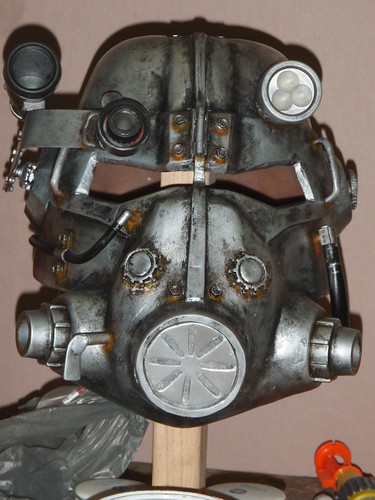
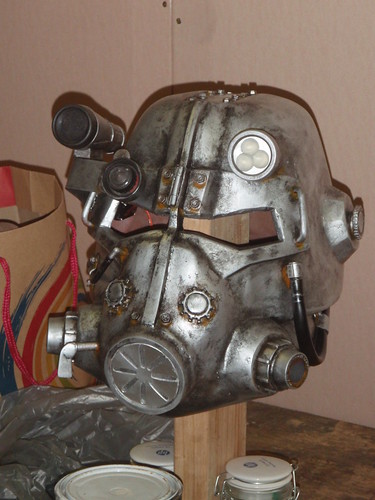
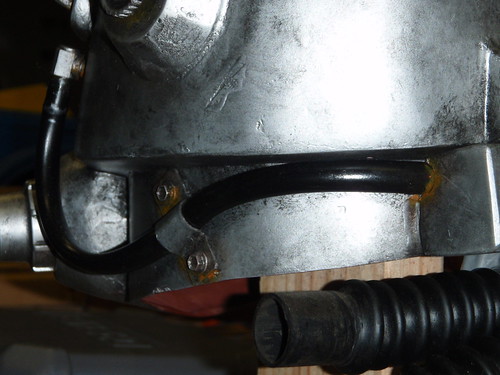
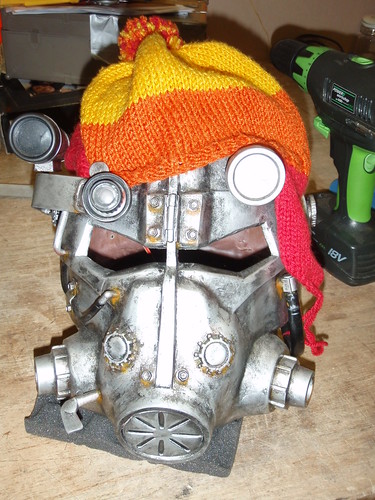
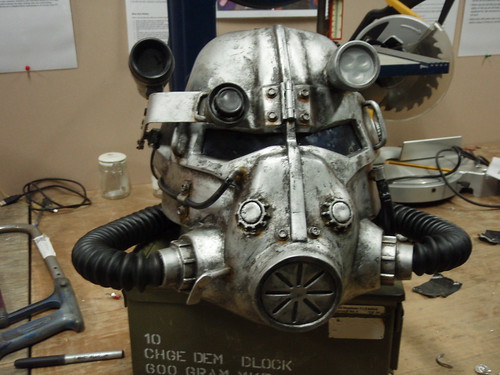
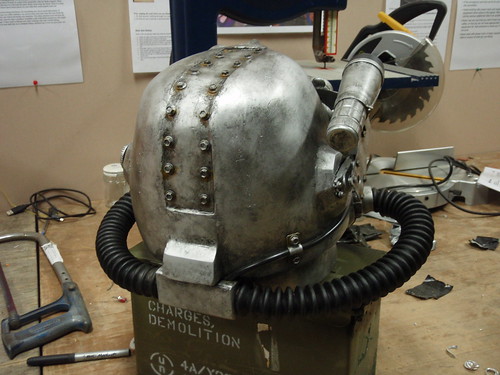
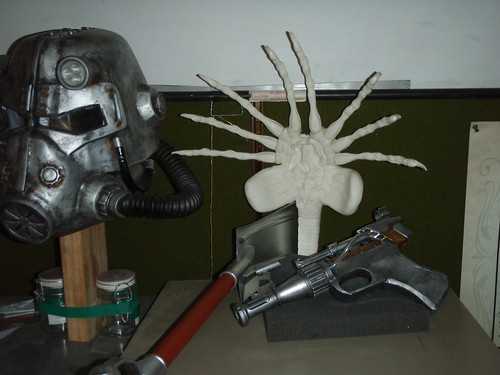
An important step here is to let it sit on display for 6 months while you try and get to the stuff you aren’t so good at, the electronics/arduino side :D
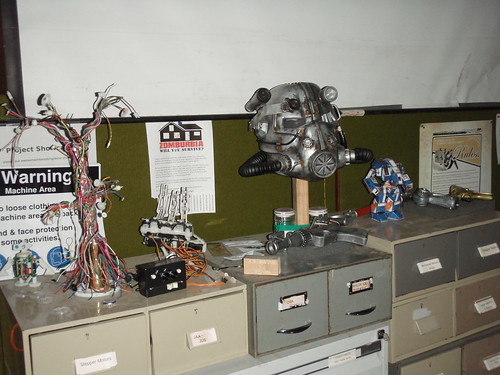
Once complete its time to get stuck in again. Familiarize yourself with the way LEDs, servos and arduinos work and lay out how you want it to function. E.e. when Button A is pushed, do x, when button B is pushed, to Y. I am running a standard Arduino from a 11.1v battery though a Hobby King regulator.
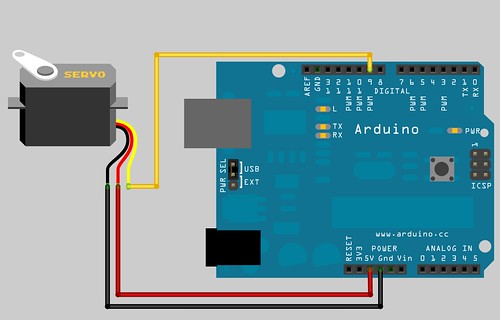

This is my code for the helmet. If you have any questions head on over to my facebook group :)
// Import the Arduino Servo library
#include

// Create a Servo object for each servo
Servo servo1;
//Servo servo2;

// Common servo setup values
int minPulse = 600;   // minimum servo position, us (microseconds)
int maxPulse = 2400;  // maximum servo position, us

// User input for servo and position
int servo;           // which servo to pulse?
int pos;             // servo angle 0-180
int i;               // iterator
int button;
int lamp;
int brightness;

void setup()
{
  // Attach each Servo object to a digital pin
  servo1.attach(9);
  pinMode (7, INPUT);
  pinMode (8, OUTPUT);
  pinMode (6, OUTPUT);
  pinMode (5, OUTPUT);
  digitalWrite (7, LOW);
  digitalWrite (8, LOW);
  digitalWrite (6, HIGH);
  digitalWrite (5, LOW);

  Serial.begin(9600);
}

void loop()
{
  // Wait for serial input (min 3 bytes in buffer)

button=digitalRead(7);  //main button
lamp=digitalRead(4);    //lamp button

  if (lamp==LOW){
    if (brightness==255) {

    for(int l=255;l>=0;l--) { // fade out
    delay(4);
    analogWrite(5, l);
    }
    brightness=0;
    }
    }

  else {
   if (brightness==0) {

  // Flicker lamp on

  analogWrite (5, 255);
  delay (5);
  analogWrite (5, 0);
  delay (60);
  analogWrite (5, 255);
  delay (9);
  analogWrite (5, 0);
  delay (120);
  analogWrite (5, 255);


  analogWrite (5, 255);
  delay (3);
  analogWrite (5, 0);
  delay (150);
  analogWrite (5, 255);
  delay (3);
  analogWrite (5, 0);
  delay (300);
  analogWrite (5, 255);

  brightness=255;
  }
  }


  if (button==LOW){
   pos=45;
   servo1.write(pos);    // move servo1 to 'pos'
   digitalWrite(8, LOW);
   digitalWrite (6, HIGH);
  }
 else {
   pos=25;
   servo1.write(pos);    // move servo1 to 'pos'
    delay(300);
   digitalWrite(8, HIGH);
   digitalWrite (6, LOW);
 }

}
Start small on a prototype board and get the servo working, then an LED. Add both to the same code so you know they function together without issue. I used FET transistors (30N06L FETs. You can google the layouts without too much hassle.) which function like switches, this allows me to switch higher current devices. In this case the 3 ultra-bright LEDs in the Lamp. Now you have to transfer the circuit to some bread board which you can solder up and make it permanent. Once again, test it to make sure it all works as i can tell you from experience it won’t work :D You will have swapped a wire, or not attached a lead to a resistor or something like that.
The final step is to put it in a box and chuck it all into your prop. Use gaff tape, glue, mounting screws, anything that will keep it from floating around and shorting out. I like mounting things like it needs to be there for 10 years. I.e. doing it well the first time.
![DSC00152[1]](http://farm8.staticflickr.com/7415/9524607606_bb4dbb8d39.jpg)
![DSC00153[1]](http://farm6.staticflickr.com/5448/9524625578_50c0ed751c.jpg)
Voila! Display how you want, show off to friends or leave it on your coffee table to take up valuable room that could be used for boring things :D
![DSC00149[1]](http://farm3.staticflickr.com/2823/9524598452_ff96b81ae7.jpg)
Dude, you're amazing!
ReplyDeleteThat's bloody awesome!
ReplyDeleteI am amazed
ReplyDeleteGood grief and mother of God!
ReplyDeleteYou surely have inspired me to make my own now.
I've been doing research for about three days to figure out how to get started and I've come up with plenty of people that have made their own version, but hell this one is espectacular!
Great work and great tutorial too, make sure you let people know this blog exists cause its some help indeed for those who want to make our own. Be sure to add a text box in the videos on Youtube to lead people to the link in the description.
Seriously, what an amazing work and help dude!!
Greetings from Spain
Thanks very much :)
DeleteIf you have any questions about it let me know, I'm only too happy to help.
so how much would it cost me to get someone (i.e. yourself) to make this for me? i really can't be arsed, and cant paint for shit haha. i'm an electrical engineer by trade, so just the helmet made would be cush, i can take the rest from there, build a tiny PCBE circuit board to go in the top of the helmet and route wires from there, connected wireless to my phone which i could dev an app for that makes it into a pip boy and build a little wrist mount and have that control my helmet, all that good shit.
ReplyDeleteHi Nathan,
DeleteThis was unfortunately a one off build, however i know there is a helmet cast over at the Replica Prop Forum. Send me a quick message on my facebook page and ill send you the link :)
Hello I am building one myself and quick question what material or object did you use for the eyes so that you were able to see out of it?
ReplyDeleteI just used some flexible clear bubble plastic and it seems to work pretty well. I wish you luck on your own build :)
DeleteHello, sorry but when i should take pepakura file? (Sorry i am russian :)
ReplyDeleteHi there :)
DeleteThis might be the one i used http://www.4shared.com/file/VaaygDPp/Power_Armour_Helmet__A4_.html
Best of luck with your build.
Um sorry i looked over it a bunch of times but i cant seem to find where you told us the material of paper you used to print this helmet out?....construction paper? etc
ReplyDelete2nd para: "210 GSM weight" ;)
DeleteJust whatever you can get in that weight.
Is this water resistant?
ReplyDelete